Showing posts with label diy. Show all posts

Friday, October 23, 2015

DIY Flower Crown


What you need:
Main flower
Filler flowers
Floral Tape (you can get this at any craft store)
Floral Wire
Scissors


First step is to measure your head. This doesn't have to be anything precise, simply wrap the wire around your head and mark it. Once I have the general size, I like to wrap the wire around a couple times to give it some stability. Then wrap the ends around. If you want you can use some floral tape to make sure nothing is poking out.


Next start cutting the stems of your flowers. You want to leave a little bit so you can easily attach it to the crown, about two inches. Make sure if you're using roses you cut off the thorns!


Grab one of your main flowers and a smaller filler flower and tape the bottom together with the floral tape. You make several of these, amount depends on size of the flowers. 


Once you have enough of the little boutonnieres, you can start laying them out. Make sure they're all facing one direction with the nicest flowers in the middle. I don't add flowers all the way around because I like being able to adjust it without crushing any!


Use little bits of wire to attach the flowers to the crown. Wrap the wire around the floral tape and the crown wire, making sure to tuck in any point parts. It may seem flimsy, but once you put it on your head it will have structure! 


I made a little one for my cat, which she did not enjoy. She reminds me of Dinah from Alice in Wonderland!


Monday, October 12, 2015

Pineapple Guacamole

Pineapple Guacamole recipe from Gimme Some Oven. This recipe combines the perfect mix of sweet, salty and my favorite thing - avocado. Though we're nearing the end of pineapple season, I strongly recommend making this recipe before it's too late!


Ingredients:
  • 3 ripe avocados, peeled and pitted
  • 1 jalapeno, stem and seeds removed, minced*
  • 1 1/2 cups diced fresh pineapple, plus extra for topping
  • 1/2 cup finely chopped red onion
  • 1 Tbsp. fresh lime juice
  • 1/2 tsp. coarse sea salt
  • Optional: 1/4 cup fresh cilantro leaves
*I substituted sriracha for spice (to taste)


Half, de-pit and scoop out the avocados. (I actually have this handy little device my brother gave me as a joke. I really don't like kitchen products that only have one use, I find that they just add clutter to my apartment. This one I happen to really like though, it's great for getting that last bit of avocado out of the shell). Mash them with a fork. Make sure they're nice and ripe otherwise you'll end up bending a fork like my boyfriend and I did!


Add the onion, pineapple, jalapeno (or sriracha) and salt. Optional to add garlic, cilantro, or whatever you want. 


Serve with chips and enjoy!


Friday, October 9, 2015

Ice Dye DIY

I'm so excited to share the process of ice dyeing! So, ice dyeing - basically the coolest technique for dyeing clothing, think: tie dyeing's cooler sibling. The dye gets sprinkled on top of the ice, so when it melt it distributes the colors to make beautiful awesomeness. It's a really cheap and easy activity, especially if you use old or thrifted clothing. The best part is that ice dying doesn't need to be a summer activity. You can get the same effect using snow!

What you will need:
White clothing 
Soda ash
Powdered dye in various colors
Bucket 
Ice (or snow)
Some type of rack (I used an oven rack) 
Vessel for catching the dye/water runoff
Optional: Textile Detergent


The dye and soda ash can be obtained from most craft stores, I got mine at AC Moore. The soda ash is important to get because it keeps the colors from running. As far as the dye, feel free to go with as many or as few colors as you want! I was going for a cooler palette, so I chose lots of blues and greens.


First off, prepare your water/soda ash mixture. Ratio should be one gallon of warm water to one cup of soda ash. For four shirts, a dress and a pair of long johns I used two gallons of water and two cups of soda ash. Let that soak for around 15 minutes. 


While that's sitting (or maybe before depending on your organization level), you want to get basically any rack (cooling rack, oven rack, etc.) and put it on top of the vessel that you want the water from the melted ice and the dye to fall into. I don't know if the dye will stain the vessel, but just in case you probably want to use something you don't really care about. Take the clothing out of the soda ash solution and ring it out. It's alright if it's still damp, just not soaking. Pile the clothes onto the rack.


Next, pile on the ice! Since we used an oven rack with wide openings, we had to be extra cautious about placing the ice. Make sure you pile up the ice and cover the entirety of the clothing. When buying ice, go with more - it uses more ice than you think. In total we ended up using about two and half bags.


Next, sprinkle on the dye. Since we had packets of dye, we just cut the corners and sprinkled directly from those. Alternately, you can use a plastic spoon to dole out the colors or anything that will ensure an even layer of distribution. We didn't really have a strategy for how we added the colors, mostly just trading different colors back and forth. Once you have entirely covered the ice, leave it alone to do it's thing. As tempting as it is to want to pick up the clothes after the ice has melted, leave em alone for 24 hours. 

I had to leave before the process was over, so I don't have pictures for the end of the process, it's pretty straight forward though (if you've tie dyed before, it's the same process). After 24 hours, rinse the clothes in cold water until the water runs clear. Throw the clothes in the washing machine on the hot setting. Tutorials I read recommend using Textile Detergent when washing them. We didn't use it, but it will help colors set. The end result was better than I imagined. You can see the finished product here


Thursday, October 8, 2015

Tie Dye


Top: trifted and ice dyed, mini skirt: Forever 21, thrifted, hat: gift from a friend

A couple weeks ago my boyfriend, his roommates and I did some ice dying! I documented the process, which is was super fun and easy. This top is one of the products that came out of it. The effect is so cool, definitely a great way to DIY anything plain white. Paired with my miniest of skirts and my favorite hat, I'm ready for a night out. Even though tie dying seems like a summer activity, you can use snow to get this effect. I'll post a tutorial in the next couple days, keep a look out for it!


Monday, December 31, 2012

DIY wall art


I found instructions for this DIY wall art here. It was really easy and looks great. I made these two, one serious and one funny, for Katherine. She has a whole house now, so I thought she could use some wall art, plus she loves Twin Peaks. I bought both of these pictures at goodwill for a couple dollars each and I'm so happy at how they turned out! I'm definitely making more for my own walls. Have a Happy New Year!

Sunday, December 30, 2012

My life through Instagram


1. Christmas morning
2. Terrarium from my brother, Richard
3. Outfit on Christmas day and Butchie
4. Sloppy burgers with Julia
5 & 6. DIY christmas presents for Katherine
7. Deer Tick in Hoboken
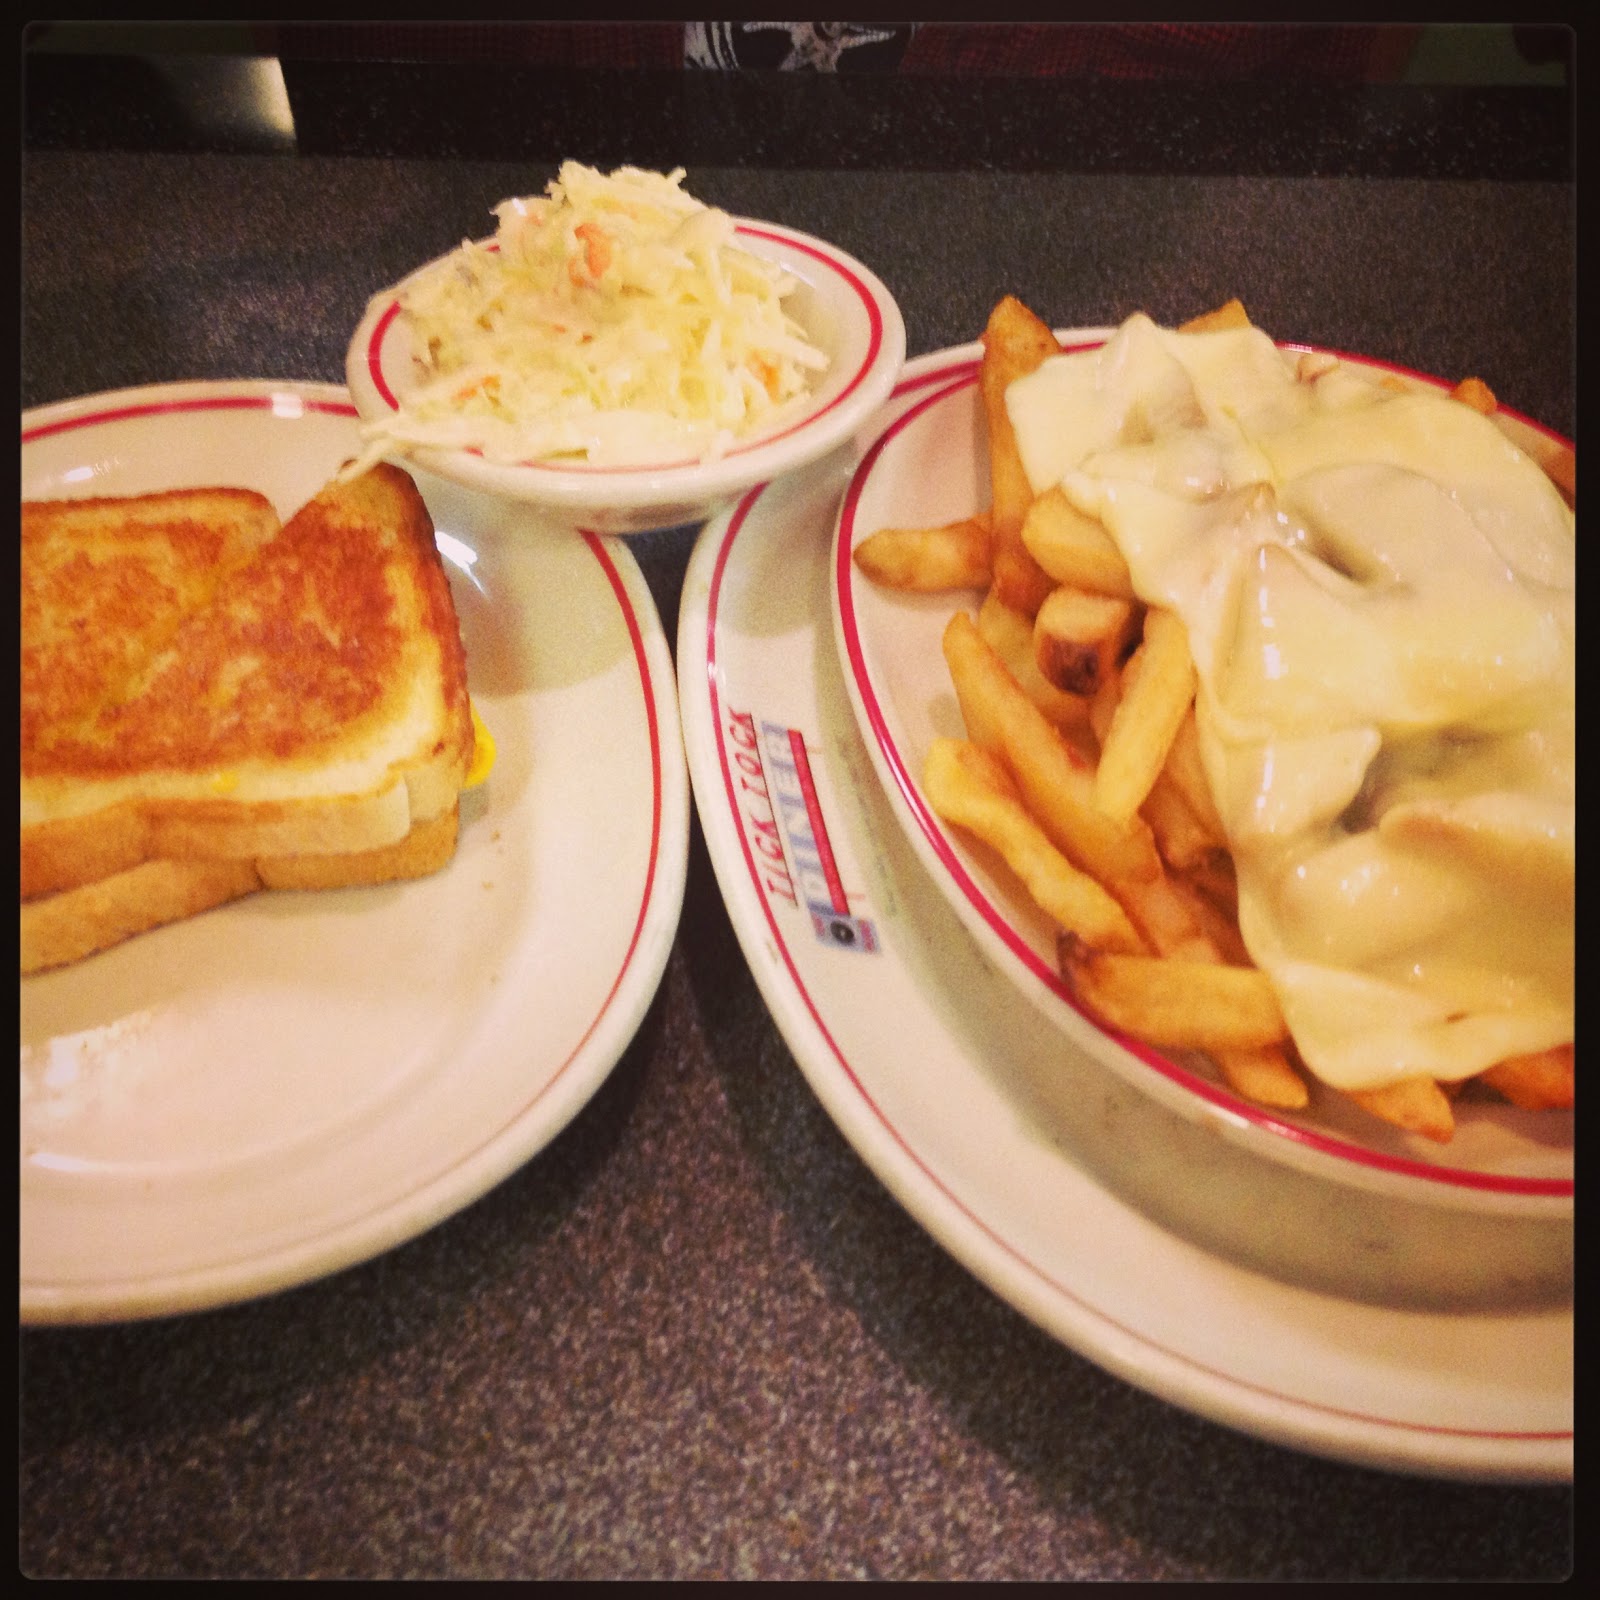
8. Diner food with Jeff
9. Temporary tats
10. On stage at Andrew WK